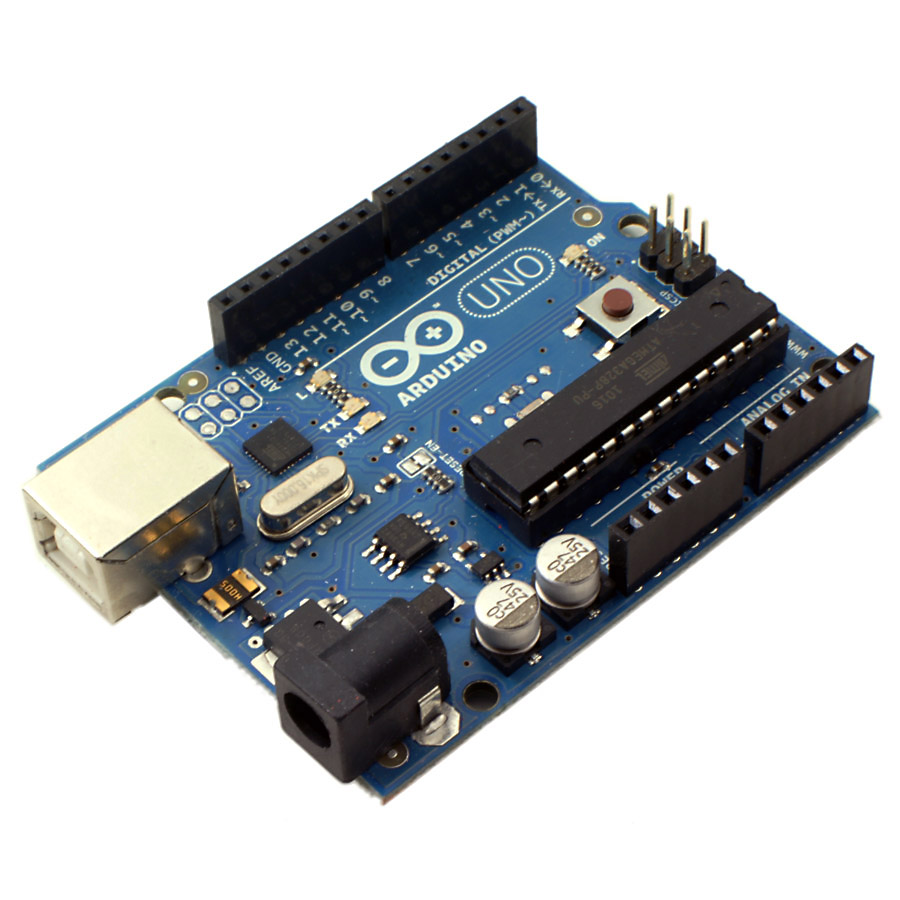

Arduino is a development platform consisting of a microcontroller and a programming environment. There have been several versions of Arduino; the model we're using is called the Uno. It has 13 Digital I/O pins and 6 Analog I/O pins. This is a typical Arduino workflow:
- Select desired components
- Google "[name of component] + Arduino" to find examples of wiring and code
- Wire and code one component at a time
- Splice the code together
The Arduino microcontroller can be purchased here, and the Arduino environment can be downloaded here. Sparkfun is a great resource for parts. I recommend getting LEDs, servo motors, and ping))) sensors. The Arduino has an LED built into pin 13— here's code to make it blink.
int led = 13;
void setup(){
pinMode(led, OUTPUT);
}
void loop(){
digitalWrite(led, HIGH);
delay(1000);
digitalWrite(led, LOW);
delay(1000);
}
If it's not working on the first try, it's probably one of three things. The wrong board or serial port might be selected in the Tools menu of Arduino, or your computer might be missing a driver. Google "[name of your operating system] + Arduino driver" to find a solution. At the bottom of the Arduino window is a black debugging panel; sometimes copy/pasting a specific error message into Google can help as well.
No comments:
Post a Comment